
Set Up Your Marketing OS Email
Connect your email so leads can reply, book, and stay in touch with ease.
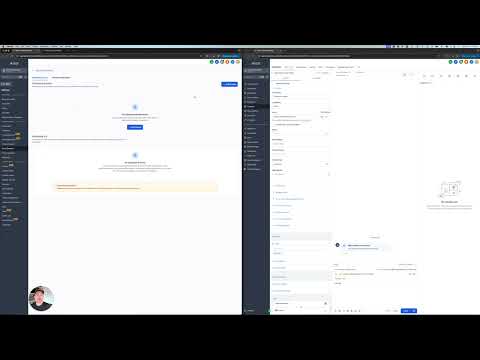
To make sure your marketing system works the way it should, you'll need to connect your email correctly. This step is critical for sending automated emails, managing two-way conversations, and making sure your messages come from your own domain (not ours).
In this guide, you’ll:
- Set up 2-way email sync so all replies show up in your dashboard.
- Connect your email to send automated follow-ups and reminders.
- Add your sending domain so messages come from your actual business email.
Let’s walk through each step together.
Connect 2-Way Email Sync
This allows you to send and receive emails directly inside your system.
- Go to Settings → Email Services.
- Click “Connect Email”.
- Choose your provider (Gmail, Outlook, or IMAP/SMTP).
- Log in and approve the permissions.
Once this is complete:
- Emails you send from the system will appear in your “Sent” folder.
- Replies from leads or clients will show up inside the Conversations tab.
💡 Why this matters: Without this sync, you might miss important replies or have gaps in your communication.
Connect Email for Automated Messaging
Now you’ll choose which connected email account should send your system’s automated messages, like form replies, follow-ups, or appointment reminders.
- Go to Settings → Team and select your user profile.
- Scroll to the “Send From” section and choose your connected email.
- Make sure your name, title, and email signature are correct.
This ensures your automations feel personal and look professional.
Related Guides
Add Your Sending Domain
To improve deliverability and prevent your emails from ending up in spam, you’ll verify your sending domain (like yourcompany.com).
- Go to Settings → Domains.
- Click “Add Domain” and enter the domain you send emails from.
- You’ll be given a few DNS records (TXT, CNAME) to add where your domain is hosted (GoDaddy, Google Domains, etc.).
- Once added, click “Verify”.
📌 Important: This step might take a few hours to update. If you need help, your domain provider’s support team or our setup support can walk you through it.
Related Guides
You’re All Set
You’ve now got:
- 2-way sync so you never miss a reply
- Automated emails sending from your real address
- Verified domain setup for better email delivery
Action Plan
Here’s what to do now:
- Send yourself a test email from the Conversations tab.
- Submit a form on your site to make sure automated replies are working.
- Move to the next setup step: Automations + Funnels.
Got stuck on any part? Reach out. We’ll help get it sorted.
Frequently Asked Questions


